Skip to content
An Unexpected Chapter
About
Blog
Book Reviews
Book Lists
Recipes
Cocktails & Mocktails
Dinner
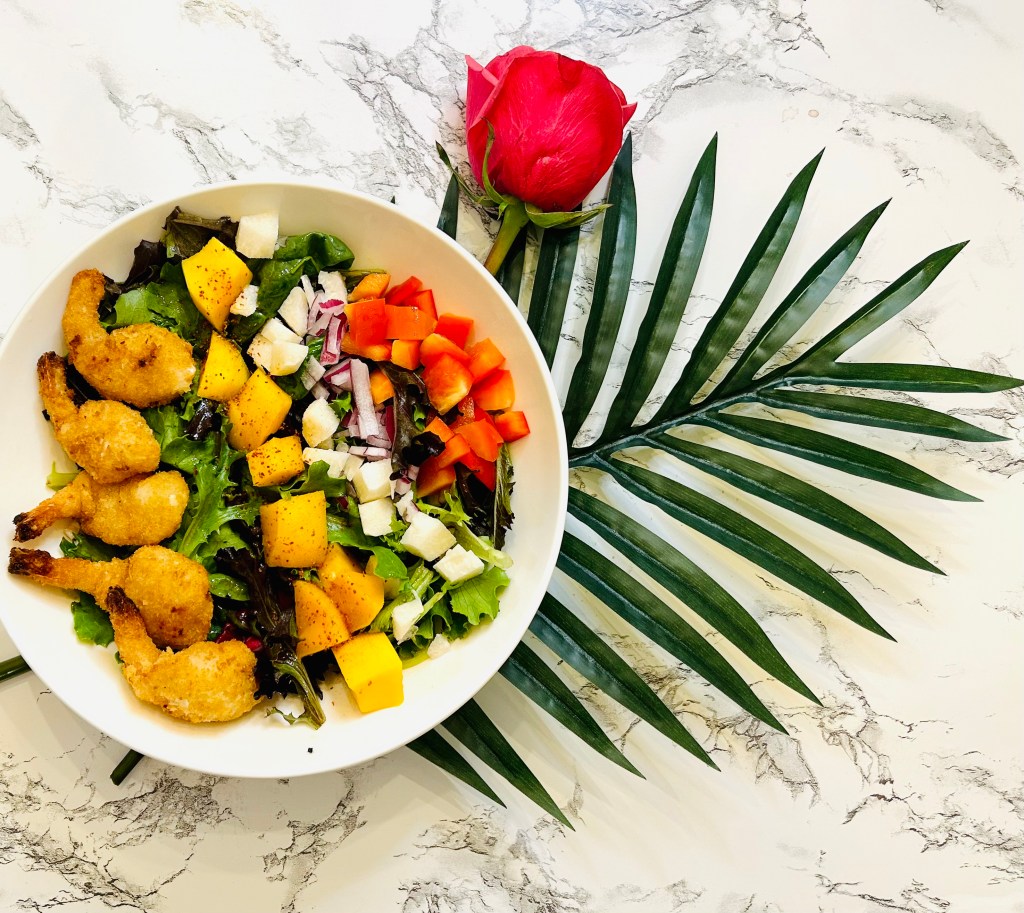
Easy Tropical Salad with Coconut Shrimp
Argentine Red Shrimp with Sauteed Mushrooms and Cheesy Polenta
The Dead Romantics by Ashley Poston: Book Review and Book Club Menu
Portabella Pizzas with Turkey Pepperoni
Guido’s Spaghetti: Spaghetti Marinara with Roasted Mushrooms and Goat Cheese
Daisy Darker by Alice Feeney: book review & book club menu
Saffron Shrimp Sheet Pan Dinner
Cheesy Crab Tostadas
Ukrainian Cheese Vareniki (and ways to help Ukraine)
Beet Hummus Pasta with Tomatoes, Spinach, and Feta
1
2
Next Page
Subscribe
Subscribed
An Unexpected Chapter
Join 58 other subscribers
Sign me up
Already have a WordPress.com account?
Log in now.
An Unexpected Chapter
Subscribe
Subscribed
Sign up
Log in
Report this content
View site in Reader
Manage subscriptions
Collapse this bar